This post may contain affiliate links. If you use these links to buy something we earn a commission at no extra cost to you. Powerful Mothering is supported by its audience, thankyou!
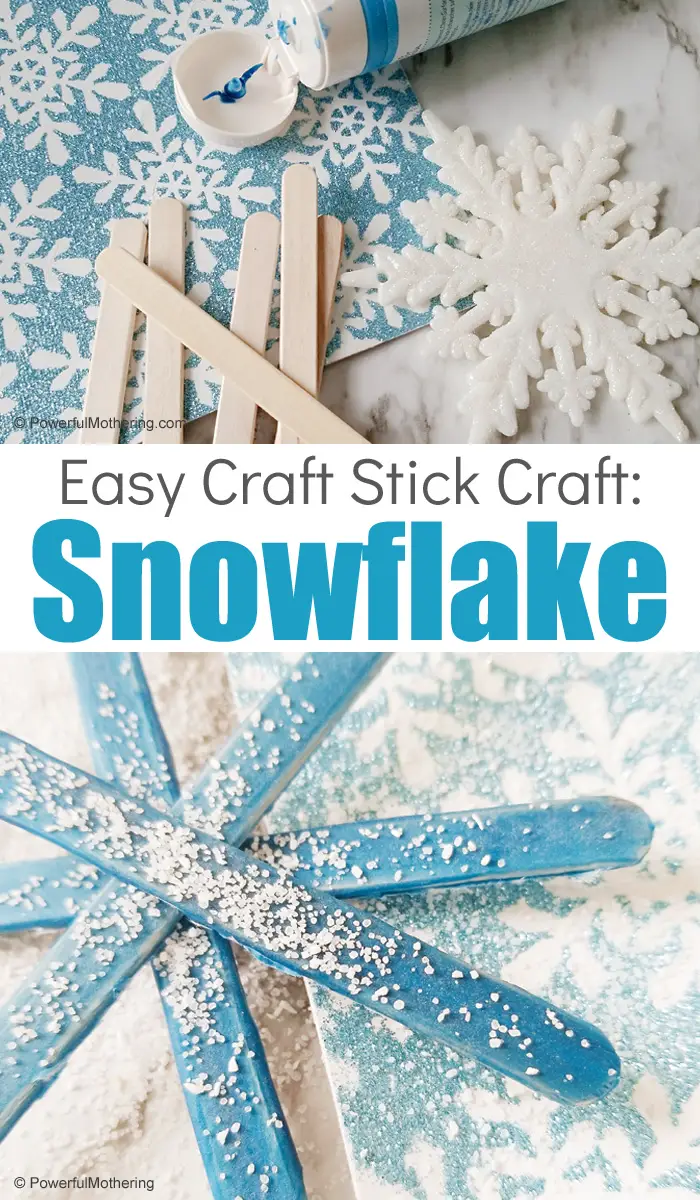
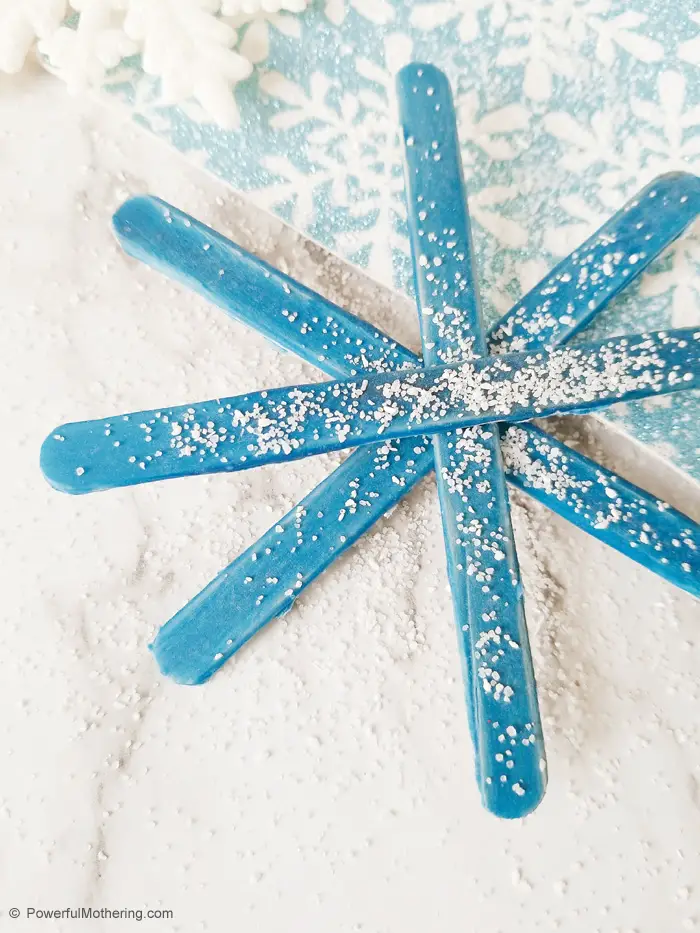
Wouldn’t it be fun to make your own snowflakes without your hands getting cold? With this DIY craft stick snowflake tutorial, you can. See how easy it is for little hands to create one of a kind snowflakes as individual as they are. With just a few dollar store supplies, you can make your own flurry of flakes in no time!
Snowflake Craft For Kids
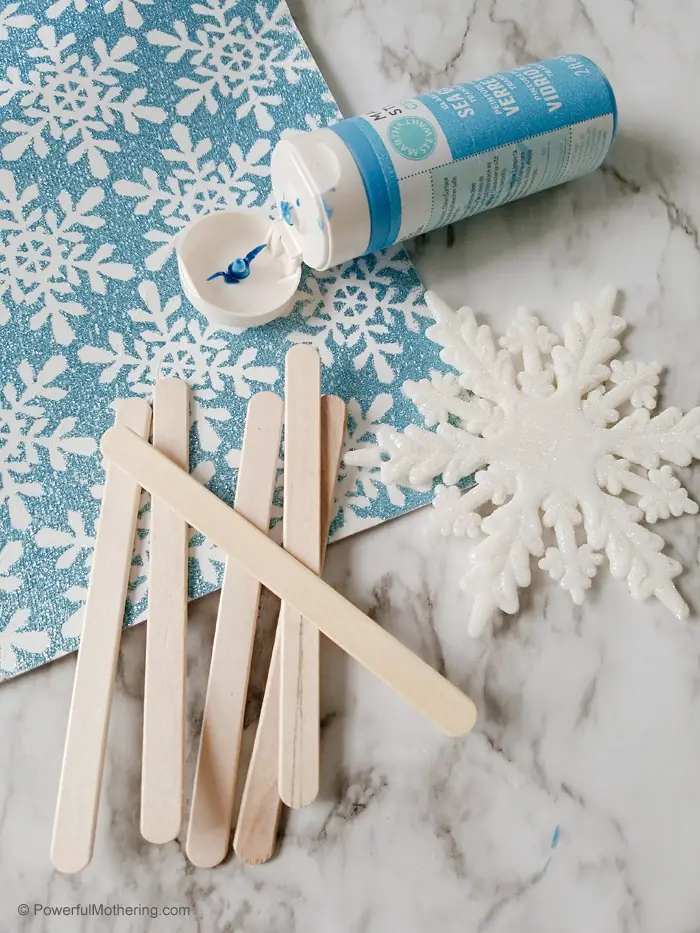
Here is what you will need to make your own craft stick snowflakes:
assorted thin craft sticks
hot glue, glue gun, or craft glue
craft paint
glitter
For the paint, you can stick to traditional colors like white and blue, or have fun with unique colors like silver, pink, or even green!
You May Also Like: How To Make A Potato Stamp
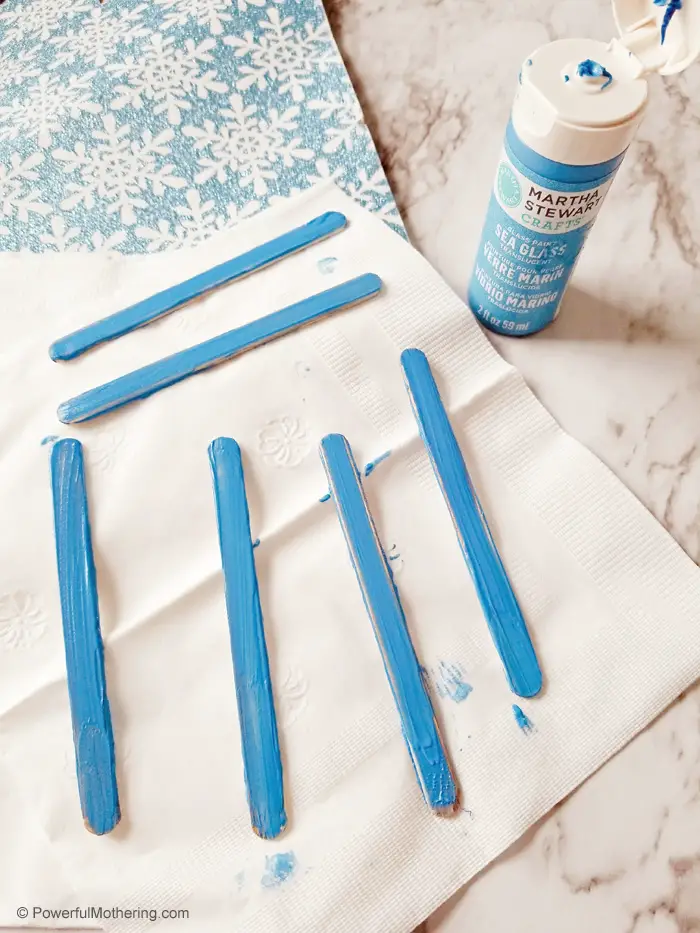
Begin painting the sticks a color or colors of your choice. You do not need to paint both sides if you don’t wish, just the main side will do. Allow the paint to dry well before the next step.
Proceed by laying the craft sticks on top of each other to create a cross shape. Glue in place and allow to dry.
Continue adding on additional sticks, gluing them into a star shape as you go. You will need to use about 3-5 sticks to get the flared design. Just glue, press, hold, and wait.
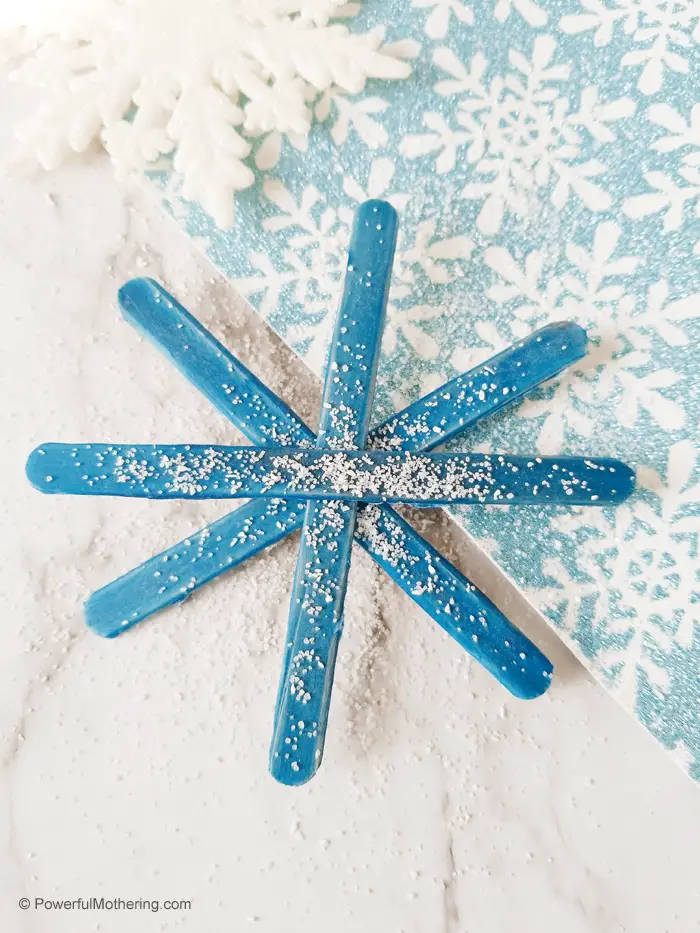
You can now add some sparkle! Use glue and glitter to embellish the snowflakes as you wish. You can also glue on pom poms, beads, string, or any other pieces you wish. Allow to dry.
When your snowflake is all decorated, you can add some string or yarn for hanging or just display them as is. They look especially cute when grouped together in bundles!
Gather your supplies and give these DIY craft stick snowflakes a try!
Farm Animal Puppets Make A Great Preschool Activity Too!





Leave a Reply