Homemade Playdough Recipe Plus Tools for Play
My kids love their playdough, my only problem with store bought playdough besides it being a bit pricey here by us is that my kids want to occasionally taste it! This scares me because I really don’t know what is in it and I am sure it is not taste safe. This is why I prefer to make my own homemade playdough recipes.
Lets just be clear, this one is made with salt and does NOT taste nice and should not be eaten! So if your child is eating things you will want to try an Edible Homemade Playdough Recipe rather. This one is safe to taste, as in child takes a small bite. Eating this playdough will make your child sick and he will most likely vomit it up because of the salt content.
This is our homemade playdough recipe
Homemade Playdough Recipe.
2 1/2 cups water
1 1/4 cups salt
1 1/2 tablespoons cream of tartar
5 tablespoons vegetable oil
2 1/2 cups flour
Food coloring
optional extras: glitter
Add the water, salt and vegetable oil to a pot over medium heat. Use a hand whisk to stir in the cream of tartar and flour. The whisk prevents flour clumps from forming.
Switch the whisk to a wooden spoon as soon as the mixture starts to get thicker and turn the heat to low. Continue stirring.
(We also have a
No-Cook Homemade Playdough Recipe)
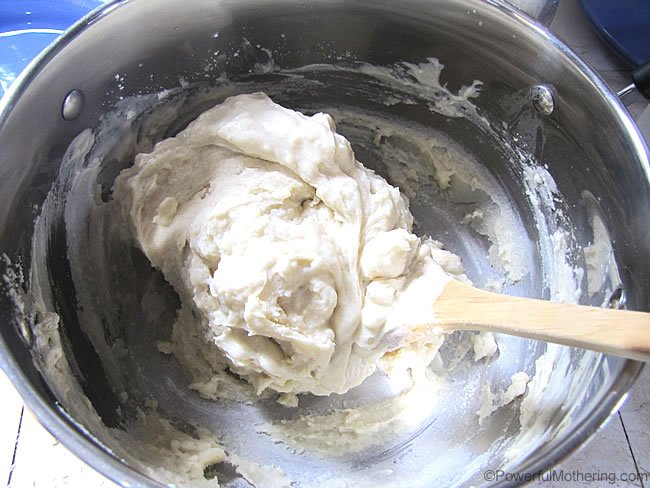

Once the play dough starts to get dry on the edges and you are able to pinch the dough without it sticking to your fingers it is ready.
Scoop the dough out onto a heat resist surface and leave to cool.
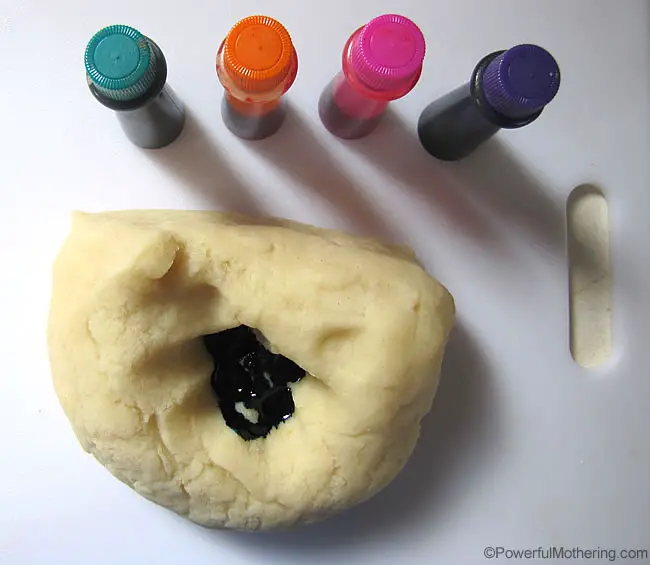
Once the dough is cool enough to handle, roll into a ball and cut as many wedges as you want colors.
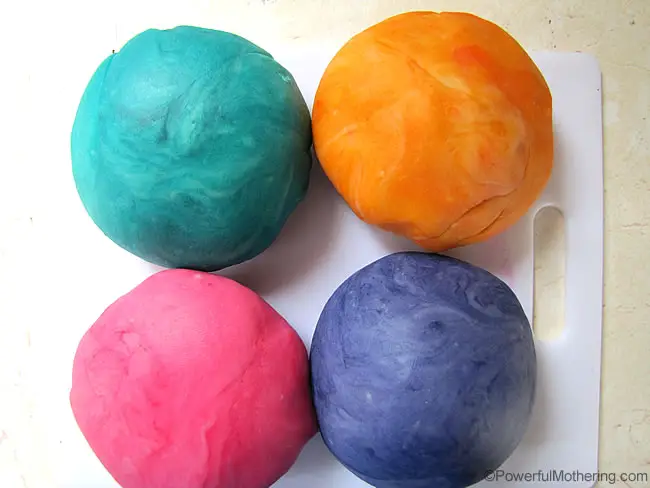
Make a little well in the homemade playdough recipe and fold the dough in on itself until the coloring is distributed. Then simply roll and knead it to work the color in more.
If you prefer to print out this recipe, here is the PDF:
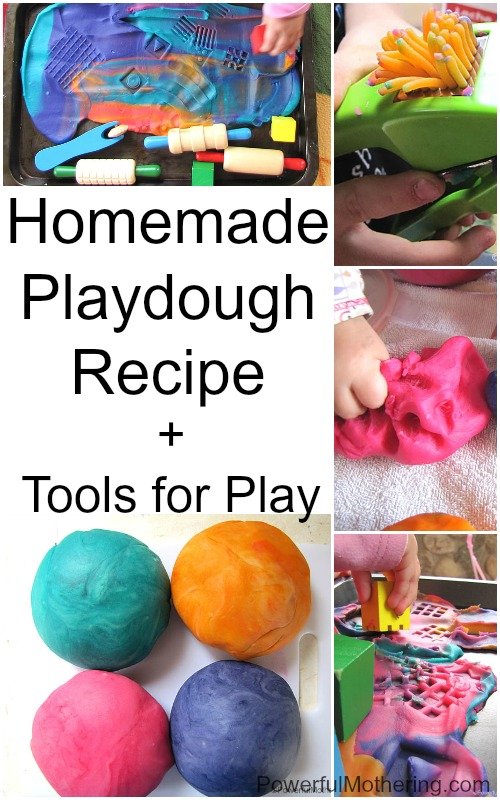
This homemade playdough recipe is my favorite, it is soft and doesn’t stick to the kids fingers with simple play. It is so nice my 3 year old rubs little bits on his cheek while playing with it!
 Lets just be clear, this one is made with salt and does NOT taste nice and should not be eaten! So if your child is eating things you will want to try an Edible Homemade Playdough Recipe rather. This one is safe to taste, as in child takes a small bite. Eating this playdough will make your child sick and he will most likely vomit it up because of the salt content.

 Once the play dough starts to get dry on the edges and you are able to pinch the dough without it sticking to your fingers it is ready.
Scoop the dough out onto a heat resist surface and leave to cool.
 Once the dough is cool enough to handle, roll into a ball and cut as many wedges as you want colors.
 Make a little well in the homemade playdough recipe and fold the dough in on itself until the coloring is distributed. Then simply roll and knead it to work the color in more.
If you prefer to print out this recipe, here is the PDF:
This homemade playdough recipe is my favorite, it is soft and doesn’t stick to the kids fingers with simple play. It is so nice my 3 year old rubs little bits on his cheek while playing with it!


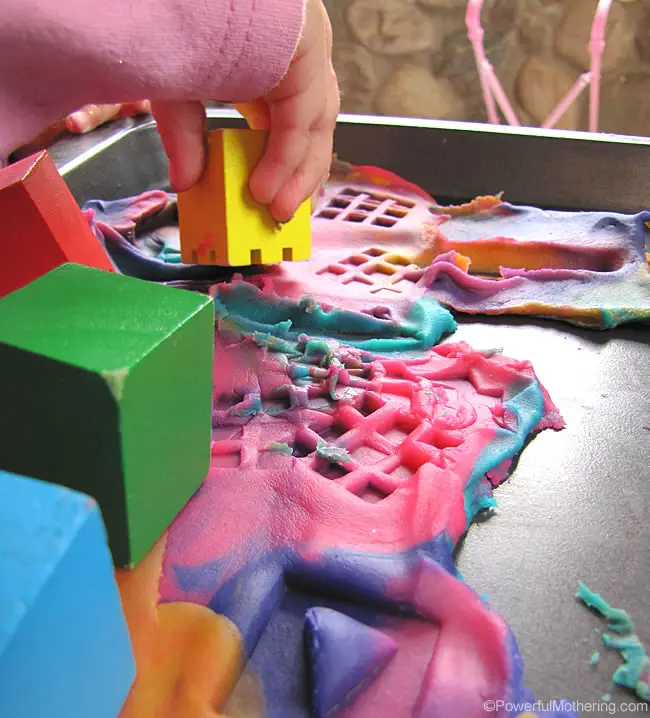
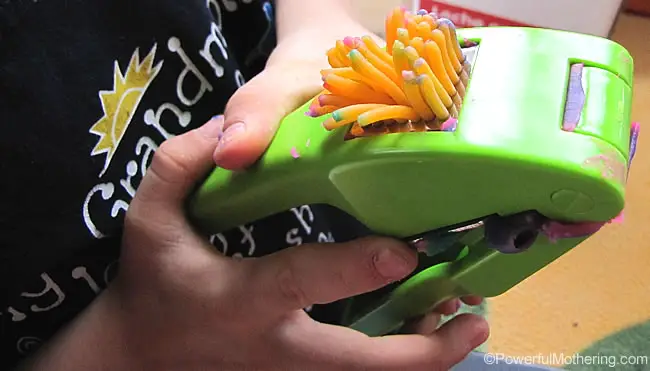 Stamping is one of my toddlers favorite things to do with homemade playdough.
