This post may contain affiliate links. If you use these links to buy something we earn a commission at no extra cost to you. Powerful Mothering is supported by its audience, thankyou!
After the success of my first no sew quiet book I made for my daughters 2nd birthday almost a year and a half I have made another one! These no sew quiet books are so easy to make and I just so grateful for all the comments and emails I get on them from parents and grandparents who can’t sew but now can also make their little ones one of these no sew quiet books! Thank you for writing in!
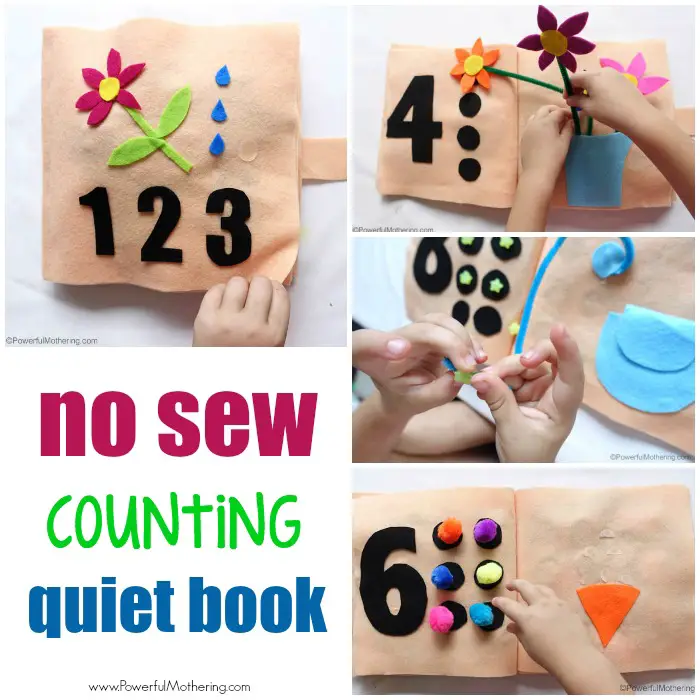
My latest quiet book is all about counting.
I have had to split the how to for this counting and numbers quiet book into a few parts else the pages would take forever to load.
Catch up here:
- Cover of the quiet book, Page 1 – Ladybug and Page 2 – Threading Hoops – Tons of construction tips too!
- Page 3 – Apples and Page 4 – Flowers in a Vase
- Page 5 – Little Ducks and Page 6 – Ice Cream
- Page 7 – Little Pigs and Page 8 – Threading Stars
- Page 9 – Buttons and Page 10 – Carrots
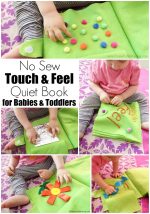
For each and every page of this counting and number quiet book I have made the pages interactive as I find my kids love to touch, feel and move things.
For the actual making of the quiet book please refer to my detailed tutorial with video. I have chosen a light beige for this quiet book instead of green but that is totally up to you. This book has 9 inner pages plus the cover which is 10 page spreads when completed.
TIP: Do NOT fix on the tab of your quiet book until all the activities are inside the quiet book to get the correct fit.
I do use velcro dots in this quiet book but I hot glue them on. I do not use their own glue as it does not adhere to the felt very well. The main reason I use velcro dots is because they are a great consistent size, the one side is clear and they are thinner than most velcro strips I have access to locally. Please, by all means use velcro strips if you want to.
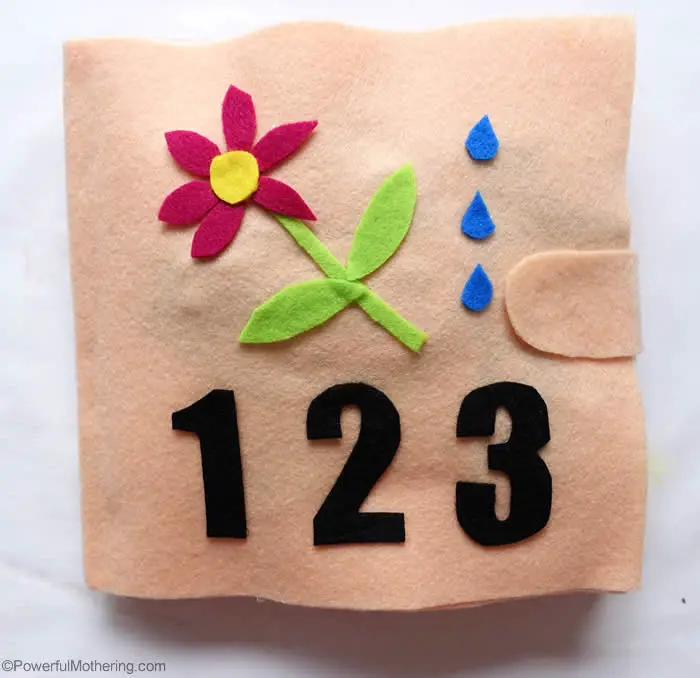
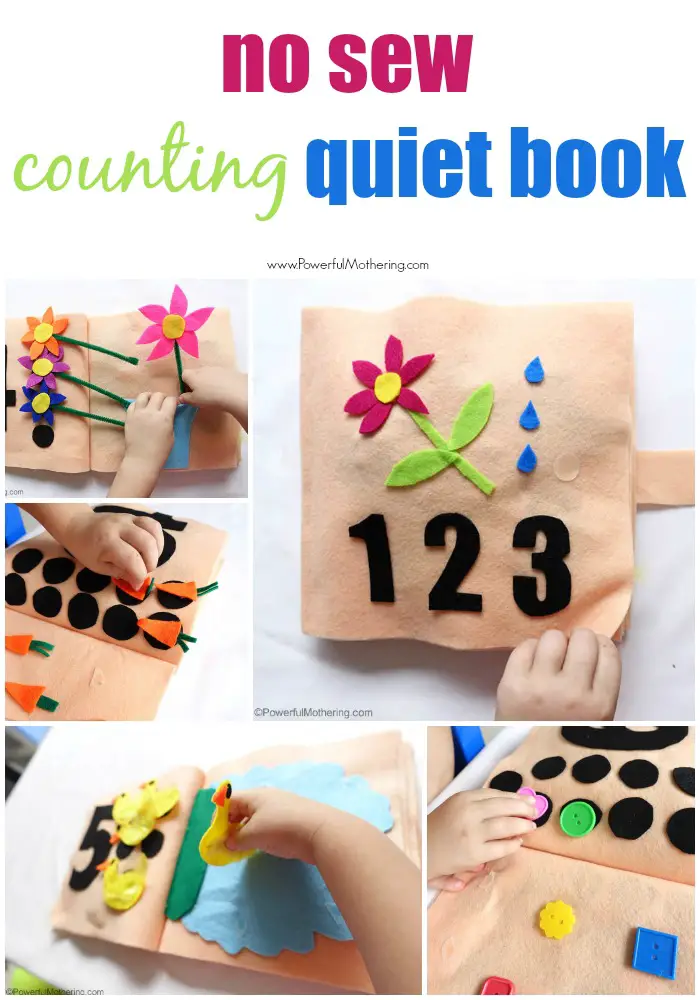
For the cover of my counting quiet book I went for a simple design of adding the numbers 1 2 3 and a simple concept I thought the kids would enjoy. 1 pretty flower, 2 leaves and 3 drops of water.
The closing velcro dot is always the last thing I do on a quiet book.
Let’s take a look inside shall we?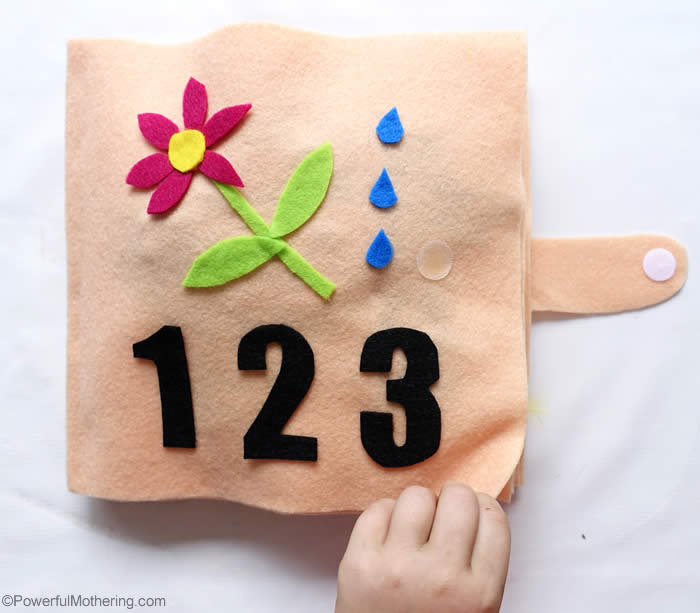
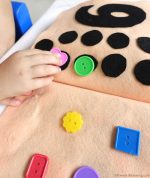
On each left side of the page spread is the number we are counting plus how ever many dots for that number.
The aim is for the children to move the items from the right side of the page and place them on the left counting them. Then replace them on the right before moving to the next page.
Page 1 – The Ladybug on a leaf.
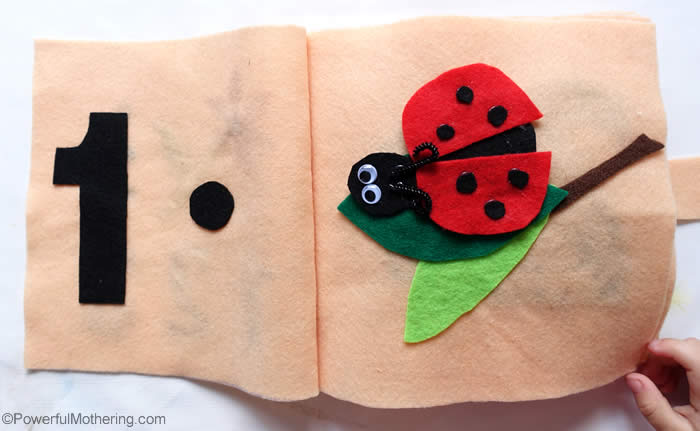
One ladybug.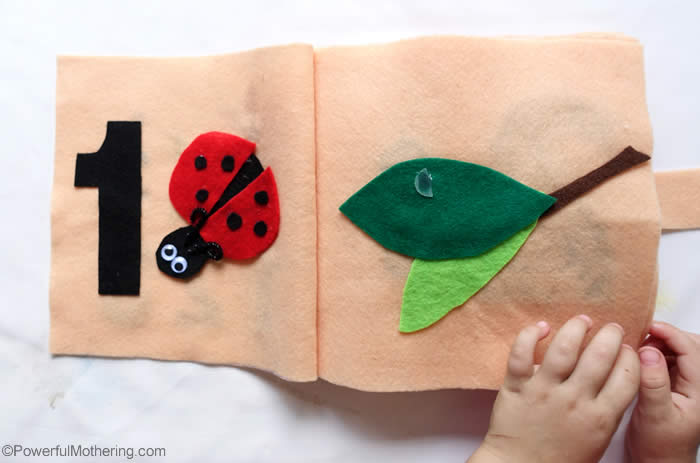
To make this page cut a brown bit of felt for a branch and 2 green leaves. Hot glue them down to your page as displayed above.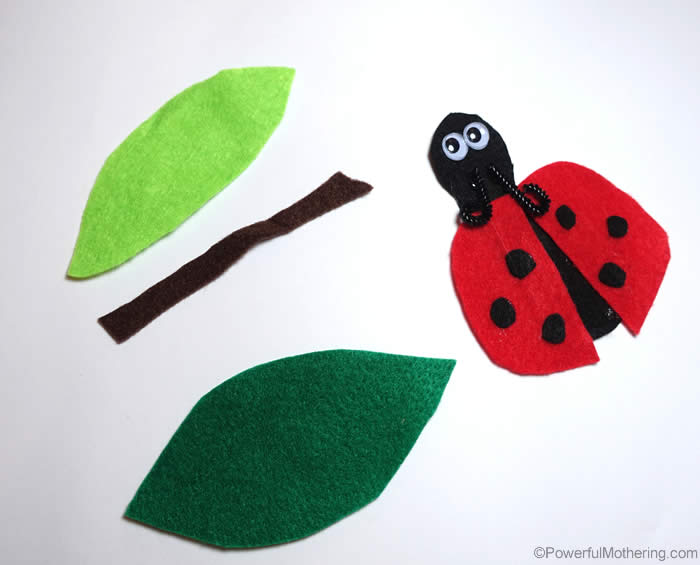
The ladybug is a roundish body with head and a red circle cut in half with 3 black dots on each half circle. Hot glue googly eyes on for the eyes and curl a bit of pipe cleaner for the antenna.
TIP: When adding velcro dots to attach extras to a felt page always use the white side on the item that gets removed from the quiet book. This lets you have consistency and interchangeable parts when there are multiple items on a page. This way children can attach back to the page in any order.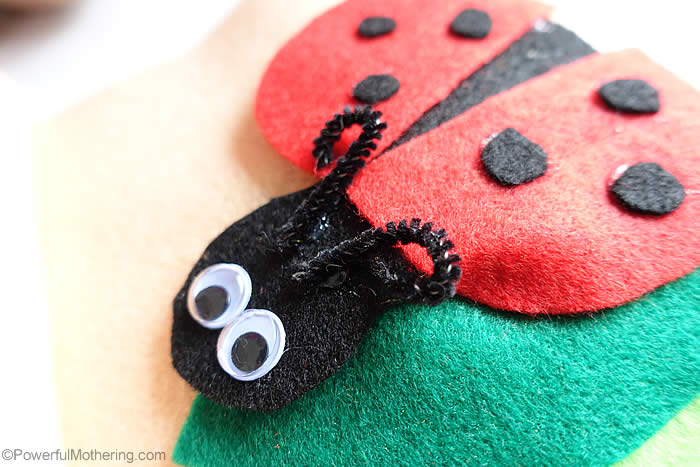
VELCRO TRICK: When I add items to a page I always press the velcro together then hot glue the one side to the detachable part. I then put glue onto the velcro dot on the item then press it to the page. This ensures that my items are centered and attached properly. Before giving your child the quiet book to play with always go through the boo yourself making sure the velcroed items come off properly and no extra hot glue is holding them down. Clip carefully with a scissors if it is.
Page 2 – Threading
This is one of the simpler pages in the counting and numbers quiet book!
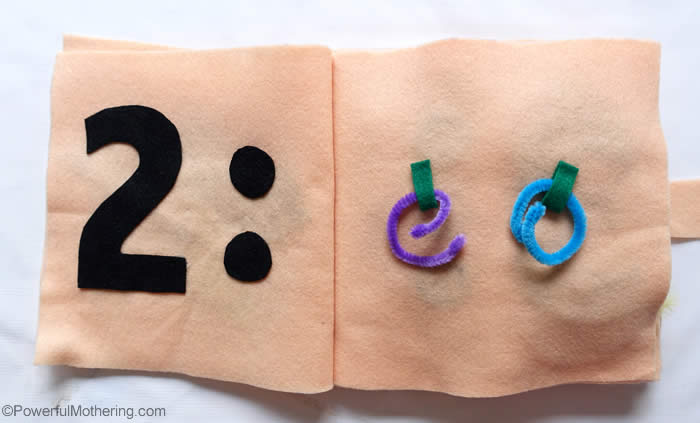
The children have to turn the pipe cleaners to get them out of the loops and onto the dots for counting. Great fine motor threading activity!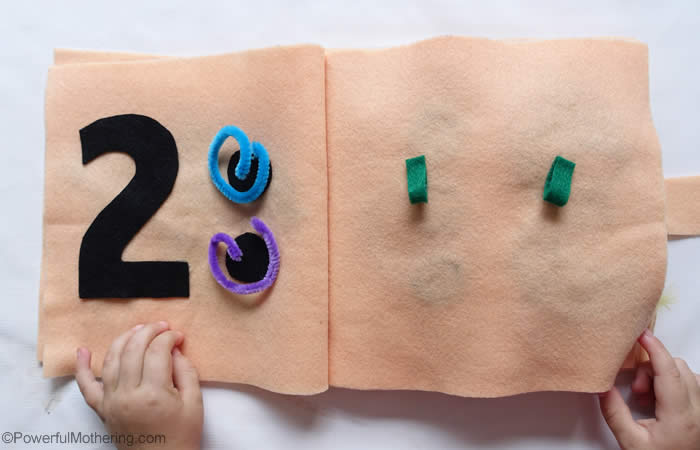
I also love the hand eye coordination as they thread them back onto the loops.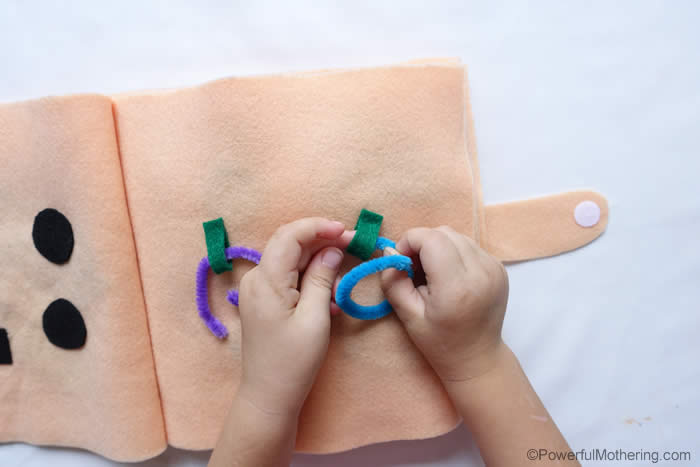
These are pipe cleaners cut in half. I also turn over the edge of the pipe cleaner so there are no sharp metal bits. The green loop is simply a bit of felt hot glued down on itself.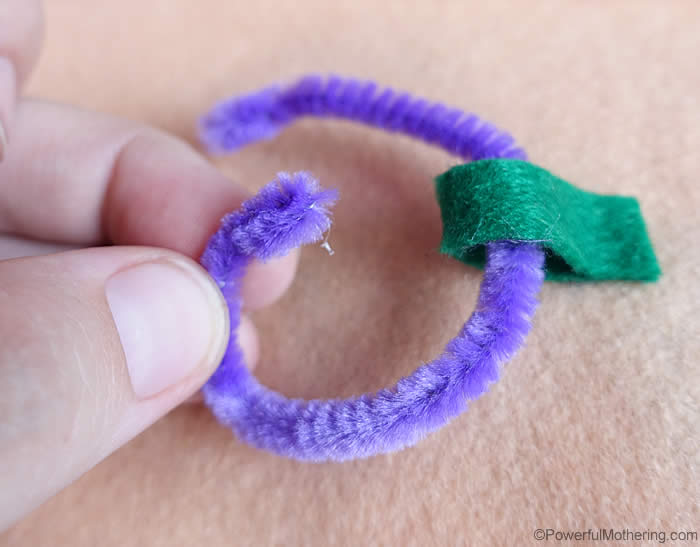




Jess says
This looks awesome!
Cheryl says
Gorgeous crafts here – thanks for sharing. Just a quick question about the black dots on the left side of the books representing the numbers…
How does the ladybug stick to the black dot on the left side of the page? Does the velcro stick to the felt – even without the “other half” of the velcro ?
Since the aim is for the kid to move the objects from right page to the left…and so wondering if they will generally stay on the page or will need to be secured back to the right side of page in order NOT to lose the little parts.
Keen to give this a shot at home…but am rather terrible at crafts so first time working with felt materials…
Nicolette Roux says
It does not stick to the other side of the page on the black dot. I made it so that the items need to be put back onto the right side of the page to secure them. You can totally hot glue some velcro on the black dot if you want. Just use the same side as the right side on the left side so the velcro from the ladybug attaches.