This post may contain affiliate links. If you use these links to buy something we earn a commission at no extra cost to you. Powerful Mothering is supported by its audience, thankyou!
Have you ever wondered how to make rock candy?
It’s easy to grow your own rock candy! Rock candy is formed from sugar crystals that look like rock crystals and you can eat them. yum yum.
You can grow beautiful clear sugar crystals with sugar and water or you can add food coloring to get colored crystals. It is simple, safe, and fun. Boiling water is required to dissolve the sugar, so adult supervision is recommended for this project.
We started this project with a heart rock candy recipe in mind. Check out how it went.
How to make rock candy recipe
To make this recipe you will need
- 3 cups white sugar
- 1 cup water
- Optional food coloring
- pot /pan to boil in
- Mason jars to let stand in and swap out crystal jars
- Pipe cleaners to grow sugar crystals on
- Pencil or 4 to hold the pipe cleaners in place
- 5 to 7 days for sugar crystals to form
Add the sugar and water together in a pot on medium heat. Stir every 20 odd seconds to get everything mixed in nicely. Remove from the stove as soon as it starts to boil. Add your food coloring at this point and let the mixture cool in the pot.

While the sugar mixture from our rock candy recipe is cooling, choose what shapes you want your rock candy to be. For my rock candy, I wanted to make a few hearts but you can also just hang straight pieces in the sugar mixture
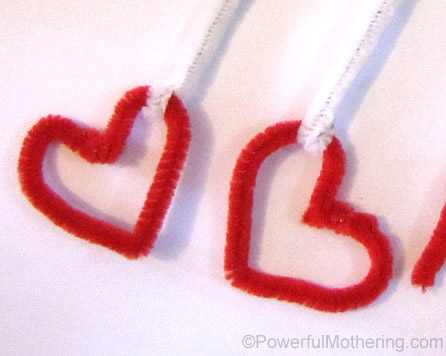
Once your sugar mixture has cooled down remove any residue and pour into your jars.
Wrap your pipe cleaners around the pencils and lower into the mixture making sure that the pipe cleaners do not touch the bottom or each other.
Depending on your weather you will need to swap out the jars either every day or every second day. You do not want your candy forming anywhere else but on your pipe cleaners. Below is after a day, just look at all those crystals!

Day 7 the last day and crystals have slowed down to just a little on the bottom. My heart rock candy is ready.
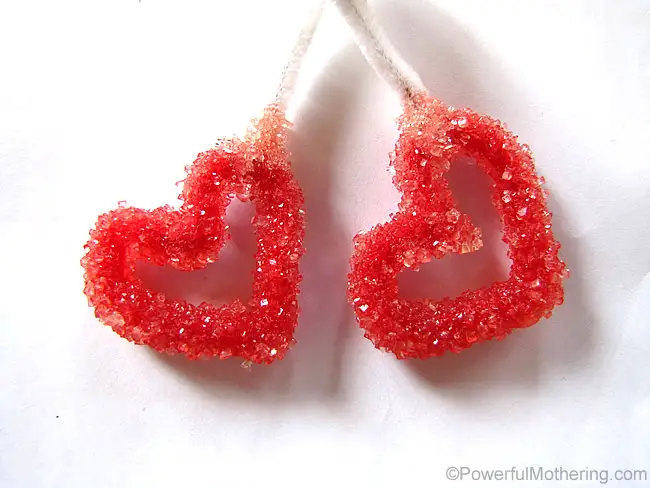
Now you need to dry your rock candy. I did this by hanging the hearts in an empty bottle overnight. Look at these gorgeous sugar crystals!


Your rock candy recipe is now ready.
The recipe is ready for your party/gift or simply to munch on!
I made mine in hearts to give out as gifts with a bag of special tea and a flower. Since the rock candy is made of sugar it will sweeten your cup of tea, with love. 😀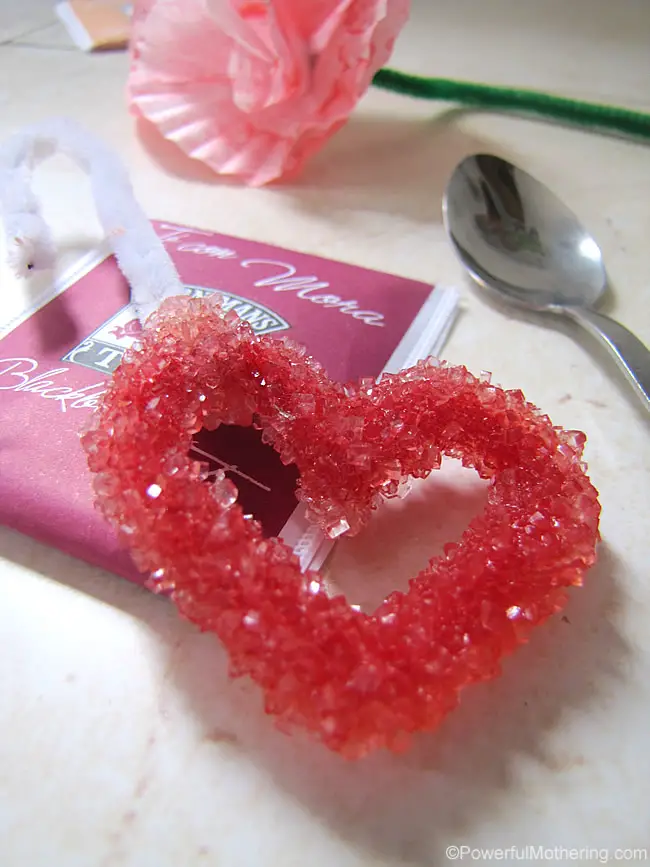
I hope you enjoyed this recipe and would love to see your results if you try it! Pop on over to our Facebook page to share.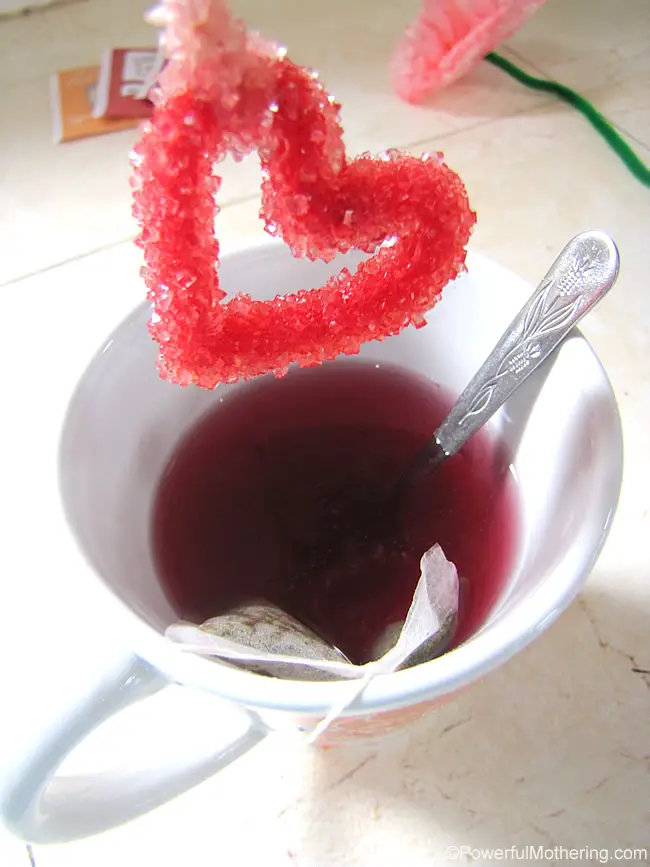
Need to watch how it is made?
We love this video, she explains almost exactly what we just wrote!
Problems? check out these Sugar Crystal Growing Problems tips.




Randa says
Does the pipe cleaner leave fuzz in the candy?
Nicolette Roux says
mine didnt!
Lynn says
Is the rock candy edible with the pipe cleaner still attached. The fuzz is not safe to eat is it. It seems you did not remove the fuzz that was attached.
Nicolette Roux says
using the rock candy in tea would melt the sugar and leave the fuzz on the pipecleaner
bill says
thanks this is alot of help for me and my class we are making rock candy and wanted to learn more and if we are doing it right so thanks
Nicolette Roux says
my pleasure! have fun!
ramon says
how many does this make??
Nicolette Roux says
for the depth you need you would get 3 or 4 jars out of this mix. so 3 or 4 hearts.
Jessica M says
This is an awesome idea, I can’t wait to try it for party favors.
Emily says
What a cute idea! I have never seen them in shapes before. So sweet! I am stopping by from the SITS Girls Link-Up Party!
Jodi says
This is such an amazing idea. I love it. You’ve been featured over at Meaningful Mama & Mom’s Library! Congrats!
Crystal @ Crystal's Tiny Treasures says
Those would be fabulous with a cup of colourful fruit tea! Thanks for linking up to Mom’s Library. I’ll be featuring you this week at Crystal’s Tiny Treasures.
TicoandTina says
this is so cool! I had no idea it took this long to make, but it would be a fun project to try with my kids 🙂 I’m pinning this for later! popping over from the SITS linkup