This post may contain affiliate links. If you use these links to buy something we earn a commission at no extra cost to you. Powerful Mothering is supported by its audience, thankyou!
There are many reasons we wish to preserve memories. Sometimes we want to remember a certain vacation, the school year, or even a special person, so we hold onto the small items that remind of us these things. A memory box is a great way to keep those mementos safe, plus the chance to access memories and feel nostalgic whenever you wish. There is no need to go and buy a memory box when you can just as easily make your own. Look below for directions about how to make a memory box with decoupage, so you can create a safe place for all of your memories to hide!
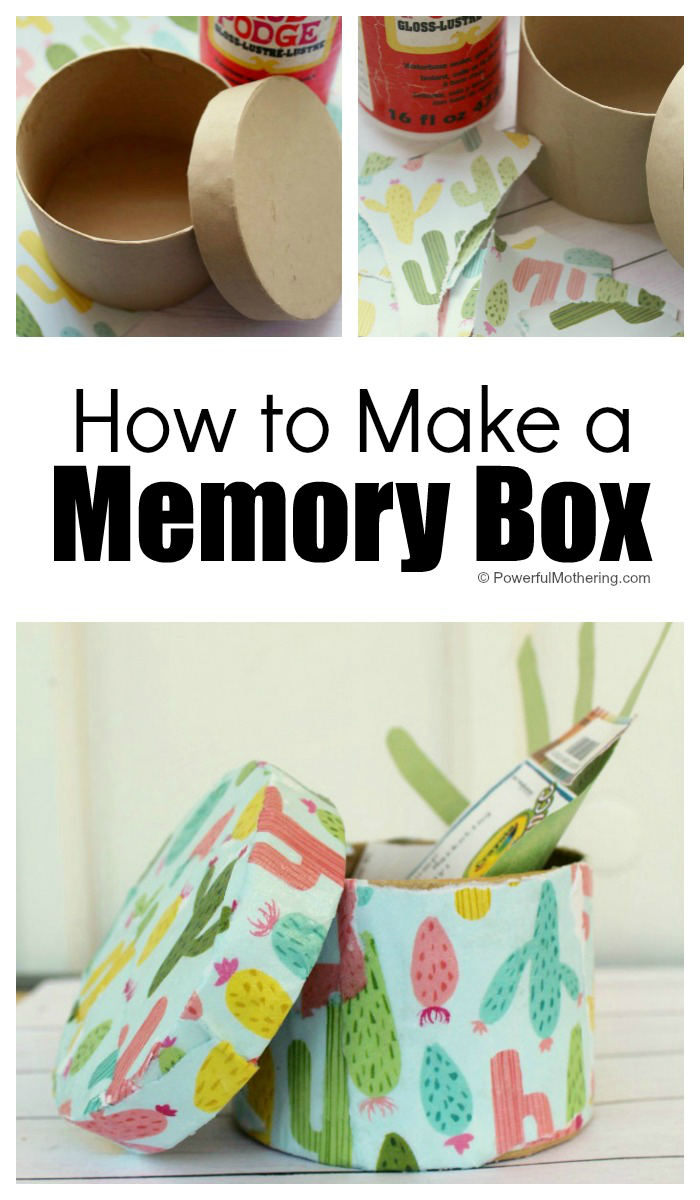
How to Make a Memory Box
Here is what you will need to make your own decoupage memory box:
Cardboard craft box
Modge Podge or clear craft glue
Scrapbook paper of choice
Scissors
Items you wish to save such as ticket stubs, photos, and other keepsakes
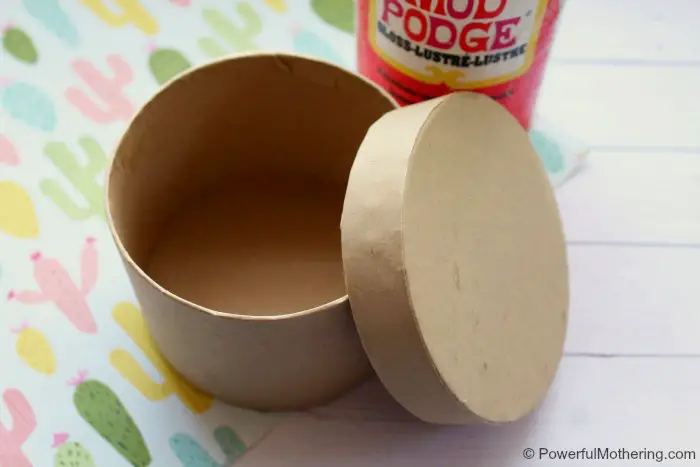
You can find most of these items at your local craft supply store. Your local Dollar Store may even have small craft boxes like the one we used here. Once you have your supplies ready, you can get crafting. Here is what you will need to do.
Directions to make a memory box:
Begin by tearing the craft paper or scrapbook paper into smaller pieces. Tearing it usually works better than cutting it . Pieces should be around an inch in size. You can tear longer pieces depending on the size of your box.
Begin with the lid of the box. Apply a thin coat of clear glue or Modge Podge to the top. Immediately place the torn pieces of paper on the coat so they adhere. Use a finger to flatten them out, smooth them, and get rid of any air bubbles.
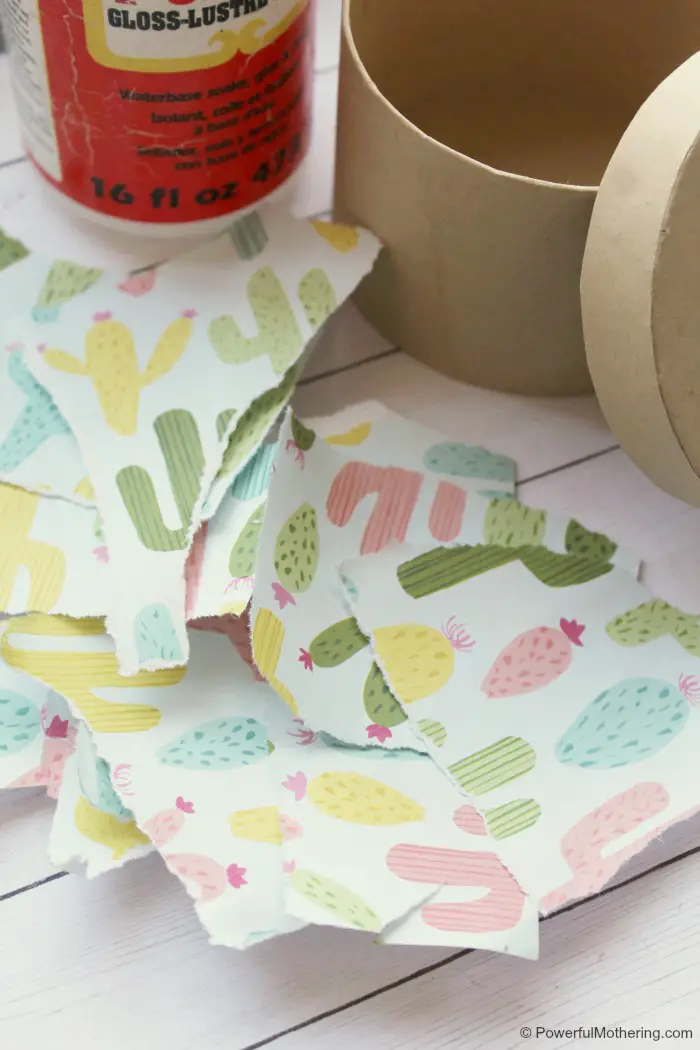
Continue until the box top and sides are covered. Don’t worry about any jagged edges just yet.
Repeat the process on the bottom half of the box. You do not need to coat the inside of the box if you don’t wish to. Just the outside is fine. Once both pieces have been coated with the paper, add another layer of Modge Podge or clear glue over it. Allow to dry.
Once your original coat of paper and Modge Podge has dried, you can opt for a second coat if you wish. If you have any jagged edges, use your scissors to clean them up.
Use a marker to date the underside of the box or add any other information you find relevant.
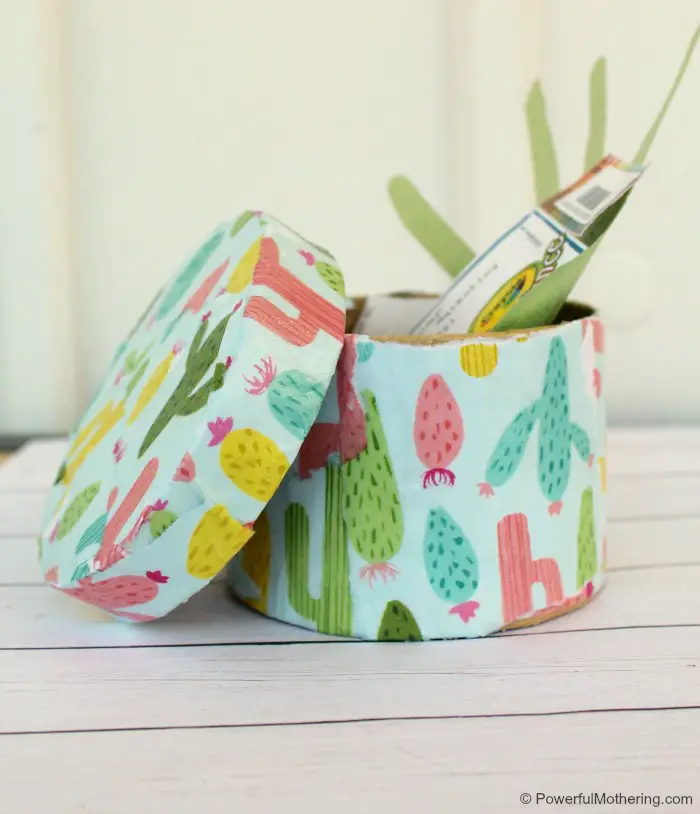
Your decoupage memory box is now ready to be enjoyed. Fill it with the keepsakes that matter to you and that you wish to keep safe. Visit the memory box whenever you need, or continue to add to it as you wish. It is a fun and decorative way to keep those memories safe!
Do you have a favorite way to make a memory box?



Leave a Reply