This post may contain affiliate links. If you use these links to buy something we earn a commission at no extra cost to you. Powerful Mothering is supported by its audience, thankyou!
Stamping is a fun way for kids to show their creativity while also practicing those important fine motor skills. This easy potato stamp uses items you already have to create cool and colorful stamps. They’re perfect for stamping it up on a hot or rainy afternoon! Look below at how to make your own stamp with a potato, and see what a fun hands on activity this can be.
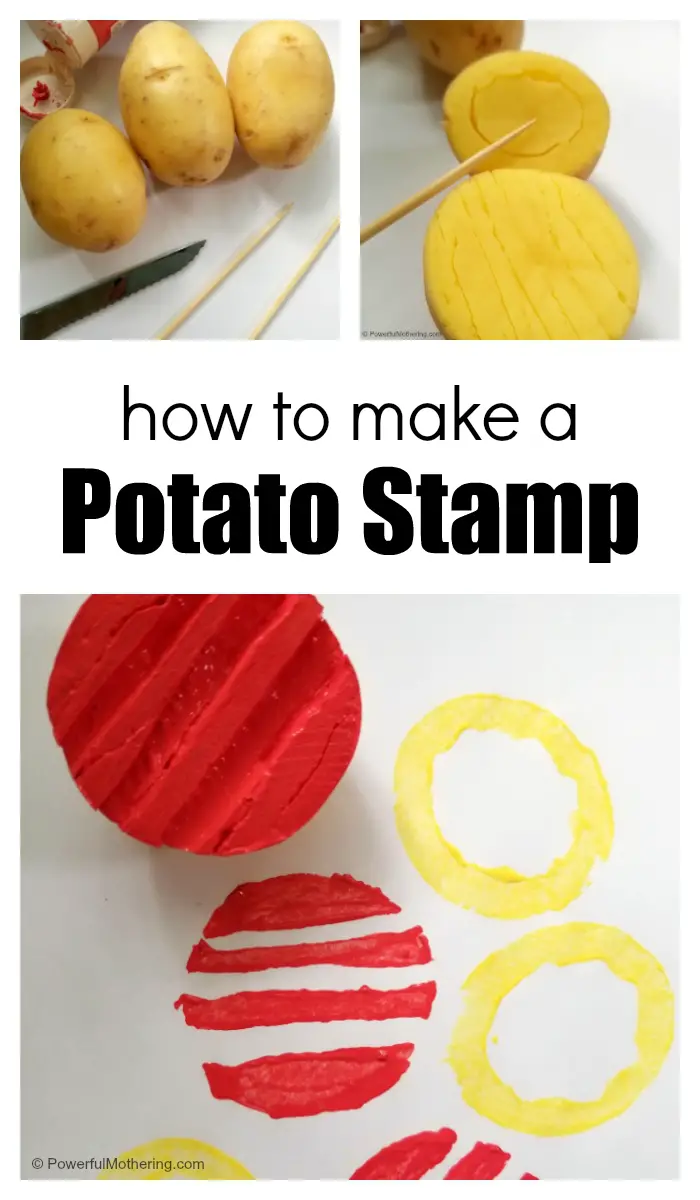
Make Your Own Stamp with the Kids
You only need a few common household supplies, and the rest is up to your imagination.
Here is what you will need to make your own stamp with potatoes:
medium sized potatoes
cutting knife
scraping tools such as a pick, a fork, spoon, or chopstick
craft paint
scrap paper
paper towels
paper plates
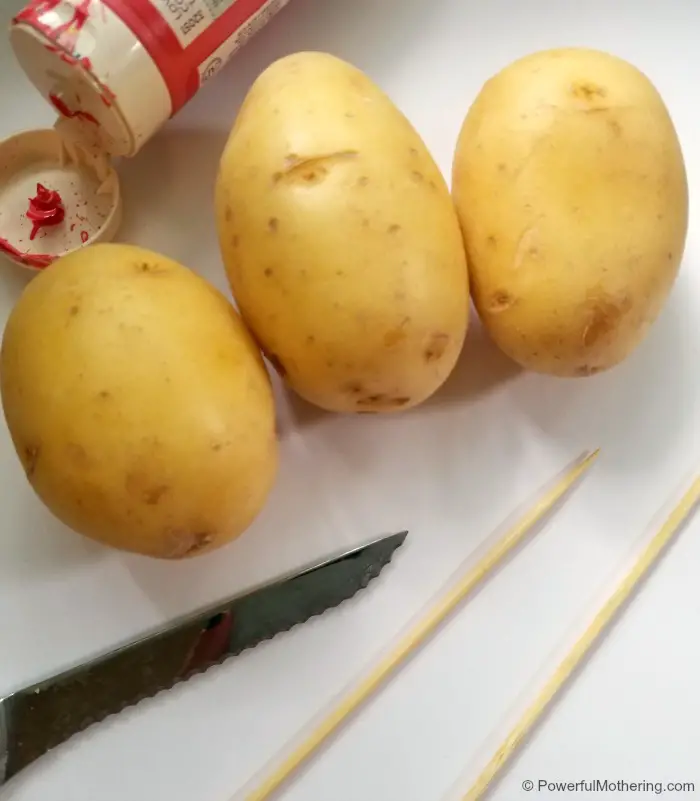
Any scraping tools will do as long as they are strong enough to carve out the inside of a firm potato. In most cases, even a spoon will do. Take care when choosing items so you pick items that are strong enough but won’t harm small children.
Make your own stamp directions:
Begin by cutting the potato in half. This step is ideal for an adult since you may need to use a sharp, serrated knife to make the cut.
Set the potatoes cut side down on a paper towel. This will help absorb the moisture and help your paint adhere nicely to the inside of the potato. You may need to press the potato to the towel several times to get all of the moisture out.
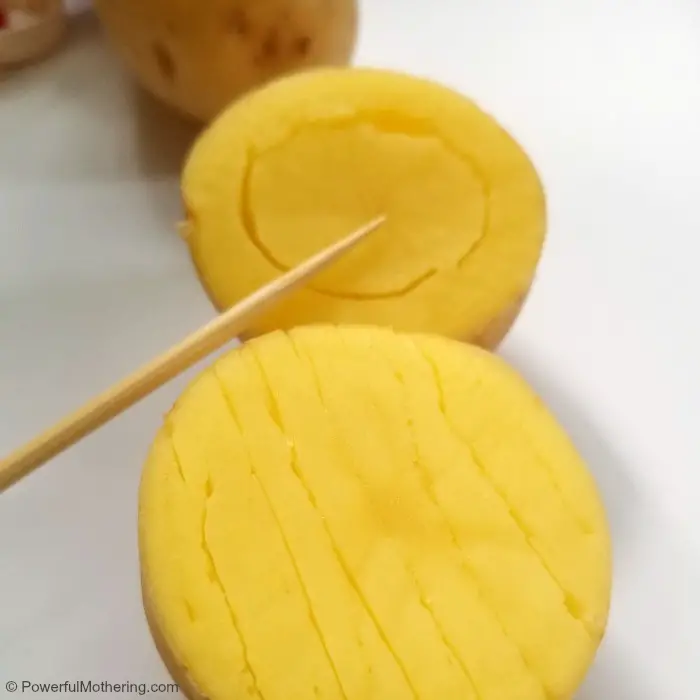
Use your tools to scratch and scrape designs into the potato. You only want to make designs on the recently revealed inside of the potato. Monitor children carefully to make sure they are holding the tools safely and using them with caution.
Once the design has been carved into the potatoes, dab them once more with the paper towels to remove any additional moisture.
Place some craft paint on paper plates. It may be easiest to just place one color per plate.
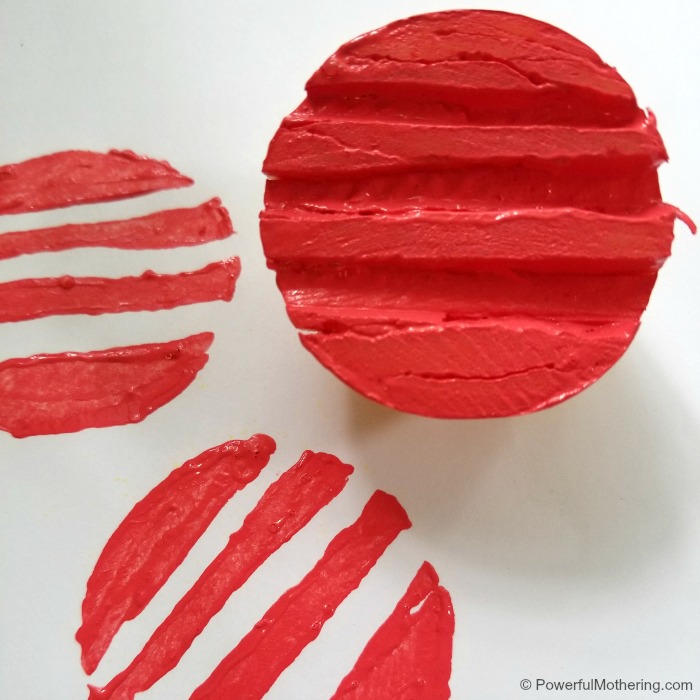
Dip your potatoes design side down into the paint and make sure they get fully covered. Use your finger or a paint brush to smooth out the paint and remove any excess.
Press the potato stamp to your craft paper. Hold it down firmly before releasing.
As you release, you should be able to see the imprint left by your potato!
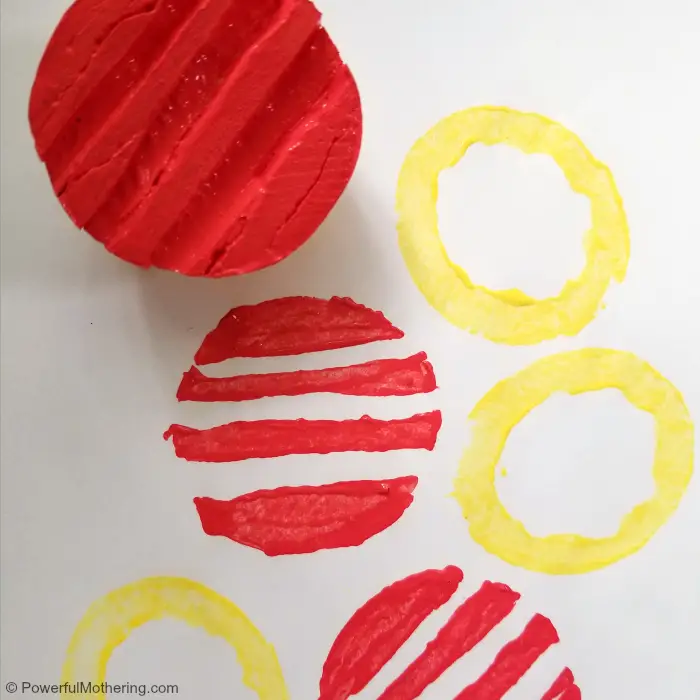
Continue dipping the potatoes in paint and stamping until your stamping project is complete. When switching colors, you may wish to wipe the potato so that your colors don’t mix. If you do rinse it to wash it, be sure to dry it thoroughly as moisture and paint don’t mix well.
What will you do after you make your own stamp? Happy stamping!


Leave a Reply