How to add Glitter to Anything Without it Falling Off
We have been making a lot of Christmas ornaments these last few weeks and it seems like our entire tree is going to be full of stars as this point in time!
Heads up: this post may include affiliate links. If you make a purchase, I may earn a small commission at no extra cost to you. Learn more in my disclosure.
Today I would like to share how to make these intense glitter stars as well as how I keep that glitter from falling off when I touch the stars or certain little kids decide to inspect them.. really up close.
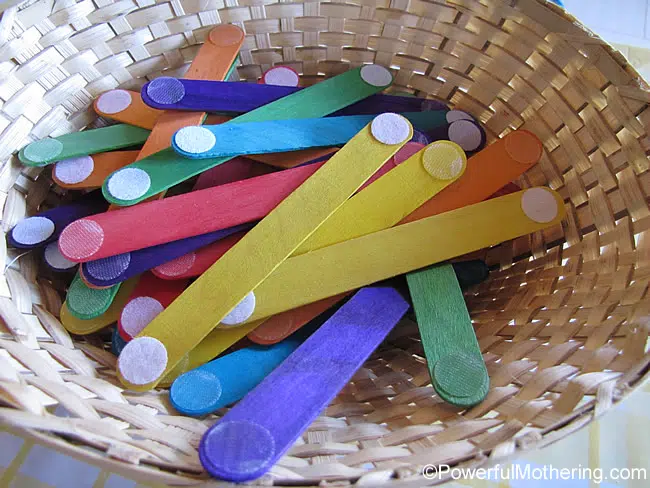
To make these stars you will need to visit the tutorial on making the star shapes, then come back and follow these extra instructions.
How to make Glitter Stars
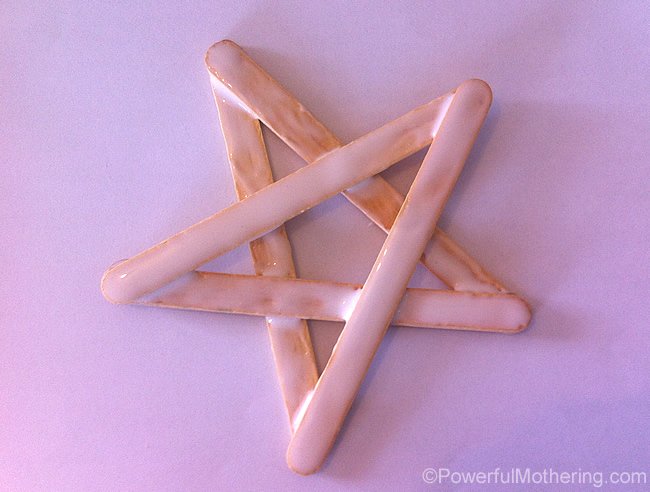
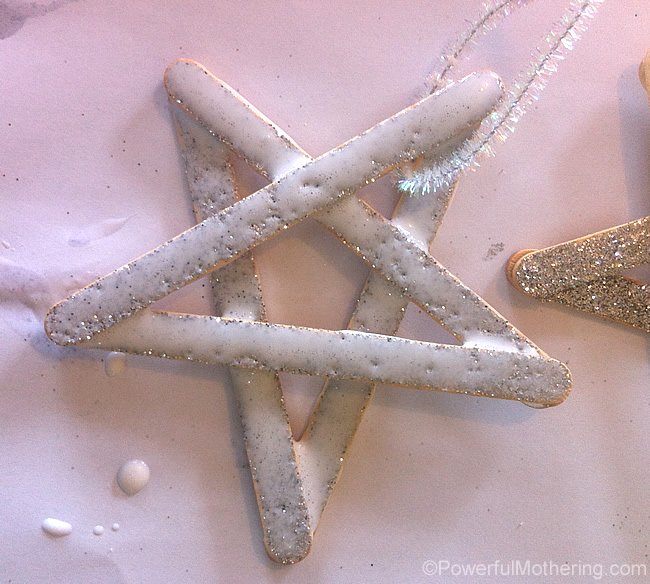
First you will need some school grade glue and an ear bud or small paint brush. Use these to spread the glue all over your star. Put your wet glued star on a sheet of paper so that when you sprinkle the glitter it is on the paper and excess can be funneled back into the bottle.
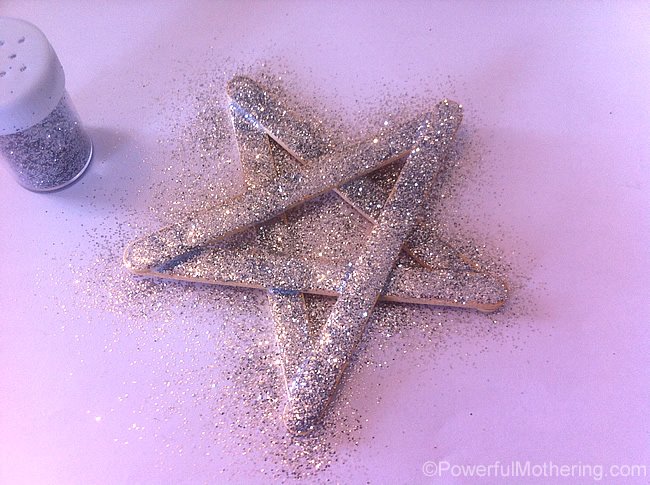
Sprinkle happily with glitter! I don’t let my kids use loose glitter at the moment as they are a little too “wild” with it 😉 Glitter glue pens are theirs and you can see how those look on glitter stars here too!
Leave the star to dry.
Now for the trick! Once your star is dry, tap off the excess glitter and add a layer of watered down school glue with a paint brush by gently dabbing it on. Modge podge is even better, but I use school glue as my replacement. Let it dry.
This can basically be used for anything you want to add glitter to, just seal it and you are good to go!
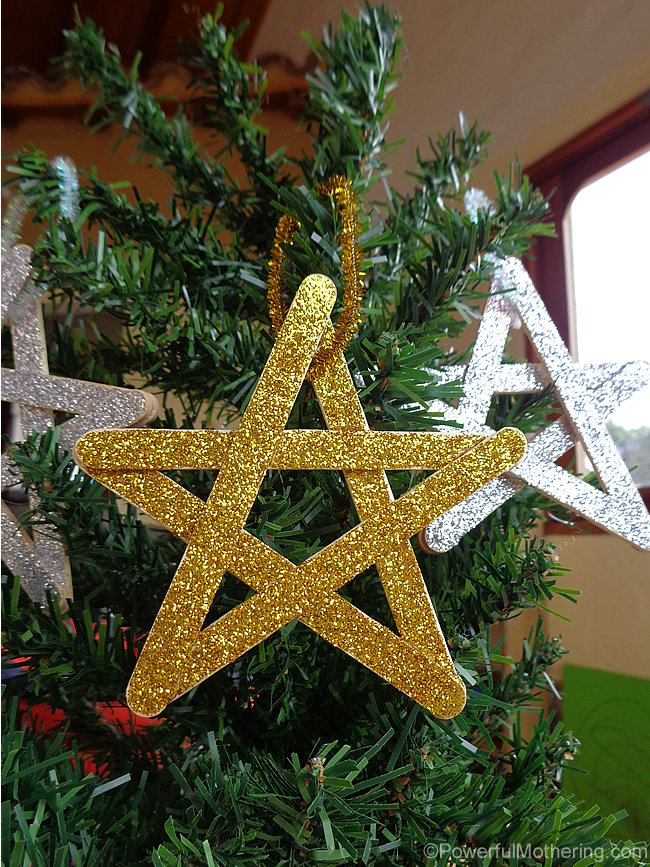
Once dry add your ribbon to the stars for hanging!
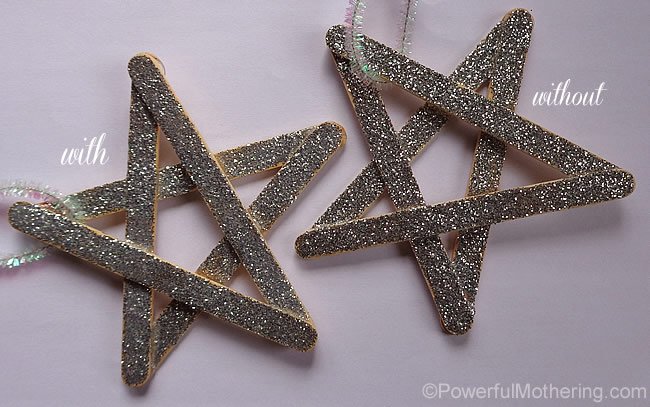
Below I took a pic of a before and after or with and without. The left has been coated with sealer and the right not. You can see the left if just a little bit dimmer in shine but when on the tree I have a hard time telling them apart. Except one gave me glitter fingers!
oh and I also made a gold one 😉