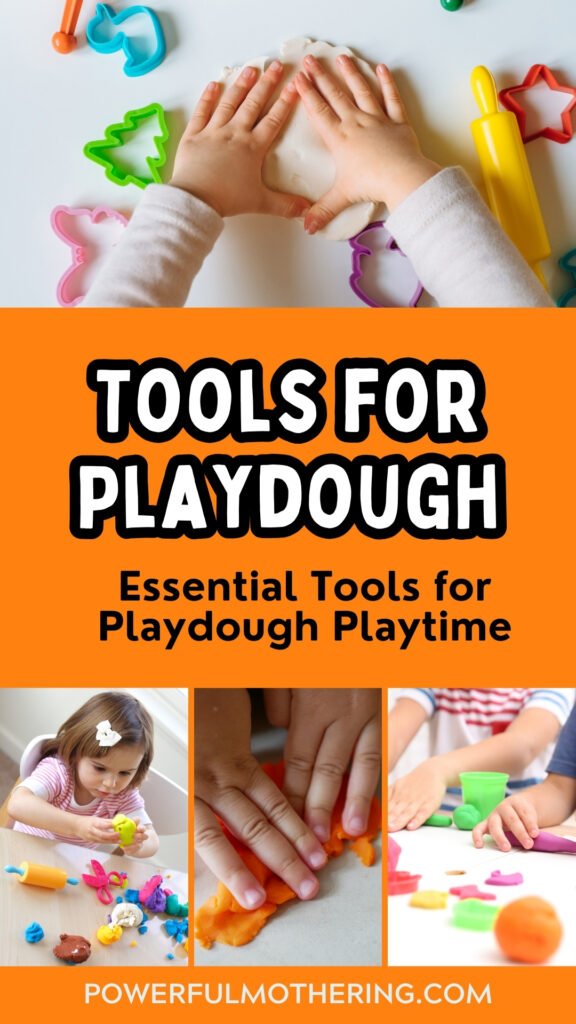
Tools for Playdough: Essential Tools for Playdough Playtime
Playdough is a sensory superstar, building hand strength for future writing, encouraging language through pretend play, and sneaking in early math and science (measuring, comparing, cause/effect). The right tools for playdough make all of that easier.
Heads up: this post may include affiliate links. If you make a purchase, I may earn a small commission at no extra cost to you. Learn more in my disclosure.
Below you’ll find
(1) household tools for playdough you already own,
(2) toys for playdough worth buying, and
(3) a minimal playdough tool set that keeps clutter low and creativity high.
Household Tools for Playdough
Think in verbs: roll, press, poke, cut, stamp, build—then raid a few drawers.
From the kitchen
- Rolling pin — flatten slabs for cutters, tracks, and letter stamping.
- Silicone spatula & butter knife — lift, slice, and make smooth, curved lines.
- Cookie cutters & biscuit rings — instant shapes; sort by size or color for sneaky math.
- Muffin tin, cupcake liners, ice cube tray — portion “bakes,” count, and compare sizes.
- Garlic press or potato ricer — magical “hair/grass/spaghetti” strands for pretend play.
The craft drawer
- Craft sticks & a plastic ruler — cut, score, measure; press roads/bricks for texture.
- Rubber stamps/stampers (no ink needed) — repeating textures and patterns.
- Beads, buttons, googly eyes — decorate, count, and pattern (supervise small parts).
- Pipe cleaners — bend into letters, build 3D shapes and creatures.
The recycling bin
- Bottle caps & jar lids — circle stamps, size sorting, “cookie” cutters.
- Cardboard tubes — tunnels, towers, and hollow circle cuts.
- Bubble wrap & corrugated cardboard — the easiest wow-factor texture prints.
From nature
- Leaves, shells, pinecones, pebbles, sticks — press to make “fossils,” compare textures, build habitats.
- Dried herbs/flowers — a light scent for richer sensory play.
From the toy shelf
- Toy cars & trucks — tire tracks on “roads” pressed with a ruler.
- Dinosaurs/animals — footprint trails; talk about habitats and sizes.
- LEGO®/Duplo® bricks — brick textures; letter/number tiles for stamping words.
- Letter tiles/magnets — stamp names, alphabet, and simple CVC words.
Setup that saves your sanity: Put everything on a baking sheet or an art mat. It defines the space, contains crumbs, and turns cleanup into a one-minute job.
Playdough Tools Worth Buying
You don’t need a giant kit. A few smart toys for playdough stretch playtime and skills.
- Child-size rolling pin / textured rollers — flatten slabs and add sensory patterns.
- Alphabet & number stampers — names, letters, early phonics work.
- Wavy/straight cutter wheels + shape cutters — satisfying cuts and instant shapes.
- Handheld extruder / multi-shape press — “spaghetti,” “hair,” and grass strands for pretend play.
- Pattern plates / texture tiles — quick wow textures for independent play.
- Reusable playdough mats (bakery, roads, garden) — guided prompts; wipe clean.
- Mini silicone baking set (molds, cupcake liners) — pretend bakery + counting practice.
- Clear latching storage bin — keeps your playdough tool set together and grab-ready.
I have linked my favorite picks on Amazon—feel free to shop them via my Amazon Storefront as well.
Minimal Playdough Tool Set
Want a ready-to-go playdough tool set that covers months of play without clutter? This Playdough Kit by Melissa & Doug is great to start. Or build your starting with the items below.
- Textured roller (or mini rolling pin)
- Alphabet stampers
- Wavy/straight cutter wheels
- Handheld extruder
- Reusable mats
Quick Invitations to Play
- Garden Builders
Extrude “grass,” then use flower cutters (or bottle caps for circles) to make blossoms. Add beads as “seeds,” count petals, and compare stem lengths. Vocabulary: stem, petal, taller/shorter. Tools you’ll use: extruder, cutters, textured rollers, beads/buttons. - Shape Snack Shop
Lay out “order cards” (circle, square, triangle). Kids roll a slab and cut matching “snacks,” then plate them in an ice-cube tray or muffin tin. Extend with simple prices (number cards) to total the order. Tools: shape cutters, bottle caps/lids, tray, number cards/play money. - Animal Habitat Stomp
Press toy animal feet to make tracks, then build quick habitats with leaves, pebbles, shells, or blue paper for “water.” Sort animals by habitat and compare footprints (big/small, wide/narrow). Tools: toy animals, nature items, textured plates (optional). - Name Factory
Roll a slab and stamp your child’s name with alphabet stampers (or letter tiles). Challenge: build the same letters with pipe cleaners or LEGO bricks. - Texture Hunt
Hide mystery items (bubble wrap, pinecone, LEGO) in a bag. Guess by feel, then press into dough to reveal the pattern. Sensory + language in one go.
Safety, Cleanup & Storage
- Supervise under 3s and skip small parts for mouthers. Snip points off skewers/toothpicks.
- Contain the mess with a tray, placemat, or silicone baking mat. Keep a damp cloth nearby.
- Store dough airtight; refresh homemade dough with a few drops of water or oil and knead.
- Tool bin routine: Keep a labeled bin for your playdough tool set so setup/cleanup takes seconds.
FAQs:
Tools for Playdough
What should I buy first if I’m on a tight budget?
Start with a textured roller and alphabet stampers. Pair them with household items (bottle caps, muffin tin) and you’ve basically got a mini playdough tool set.
How do I keep the mess under control?
Tray everything (baking sheet or cafeteria tray), use a silicone placemat, and limit tools to 4–6 pieces at a time. A damp cloth nearby = 30-second cleanup.
My toddler still mouths everything—can we do playdough?
Try taste-safe dough and skip small parts. Offer big, single tools (rolling pin, large cutters) and supervise closely. Save beads/buttons for older siblings.
My child only squishes and won’t use the tools. Is that okay?
Yes! Squishing builds hand strength and regulates the nervous system. Keep one enticing tool out (like an extruder) and follow your child’s lead.
How do I store and revive homemade dough?
Airtight container in a cool cupboard. If it dries, knead in a few drops of water or oil. If it gets sticky, sprinkle a little flour or cornstarch and knead.
Can I sneak in learning without “making it school”?
Absolutely—stamp names with letter tiles, use a muffin tin and number cards for counting, or sort bottle-cap “cookies” by size/color. The tools for playdough do the teaching while they play.
We have multiple ages—how do I set this up safely?
Give littles the chunky pieces (roller, large cutters) and seat older kids with small parts on a second tray. Same table, different tool bins.
How often should I rotate our toys for playdough?
Every 1–2 weeks. Stash half your tools and swap them out. Rotation keeps interest high without buying more.
What’s the best way to clean extruders and textured rollers?
Let stuck dough dry, then flick it out with a skewer or old toothbrush. Rinse with warm water and air-dry before storing in your playdough tool set bin.
Start simple and let your child lead. If you want a small footprint with big impact, build a go-to playdough tool set (roller, stampers, cutter, extruder, mats). Keep it in a clear bin, rotate pieces every week or two, and you’ll have fuss-free play on repeat.
Need a playdough recipe?
Check out these:
If you enjoyed this, be sure to explore our other printables and activities and follow our social media for more delightful learning experiences.